Tensorflow for Poets
Build a Flower Image Recognition Model with Transfer Learning Techniques, Python 3.6.3, Tensorflow 1.4.1 and tensorflow-tensorboard v0.4.0rc3.

In this article we build a Flower Image Recognition Model with Transfer Learning Techniques, Python 3.6.3, Tensorflow 1.4.1 and tensorflow-tensorboard v0.4.0rc3. This article is inspired by the Tensorflow for Poets transfer learning exercise.
At the time of writing this, tensorflow is on version 1.4.1, which includes tensorflow-tensorboard (version v0.4.0rc3). My development environment is a Macbook Pro (El Capitan) and Anaconda (for creating isolated Python environments).
Download Github repository
$ git clone https://github.com/googlecodelabs/tensorflow-for-poets-2

$ cd tensorflow-for-poets-2
Setup Python Environment
Create a conda environment with Anaconda (this may take a while):
$ conda create --name py36-tf14 python=3.6 --channel conda-forge
Activate conda environment:
$ source activate

$ source activate py36-tf14
Install tensorflow with pip (this will also automatically install tensorflow-tensorboard):
(py36-tf14) $ pip install tensorflow
Our conda environment should now look like this:
(py36-tf14) $ conda list
# packages in environment at /Users/johnny/anaconda/envs/py36-tf14:
#
bleach                    1.5.0                     <pip>
ca-certificates           2017.11.5                     0    conda-forge
certifi                   2017.11.5                py36_0    conda-forge
enum34                    1.1.6                     <pip>
html5lib                  0.9999999                 <pip>
Markdown                  2.6.10                    <pip>
ncurses                   5.9                          10    conda-forge
numpy                     1.13.3                    <pip>
openssl                   1.0.2n                        0    conda-forge
pip                       9.0.1                    py36_0    conda-forge
protobuf                  3.5.0.post1               <pip>
python                    3.6.3                         4    conda-forge
readline                  7.0                           0    conda-forge
setuptools                38.2.4                   py36_0    conda-forge
six                       1.11.0                    <pip>
sqlite                    3.20.1                        0    conda-forge
tensorflow                1.4.1                     <pip>
tensorflow-tensorboard    0.4.0rc3                  <pip>
tk                        8.6.7                         0    conda-forge
Werkzeug                  0.13                      <pip>
wheel                     0.30.0                     py_1    conda-forge
xz                        5.2.3                         0    conda-forge
zlib                      1.2.11                        0    conda-forge
Note: at the time of writing this, tensorflow v1.4.1 seems to work well with tensorflow-tensorboard v0.4.0rc3 (aka tensorboard).
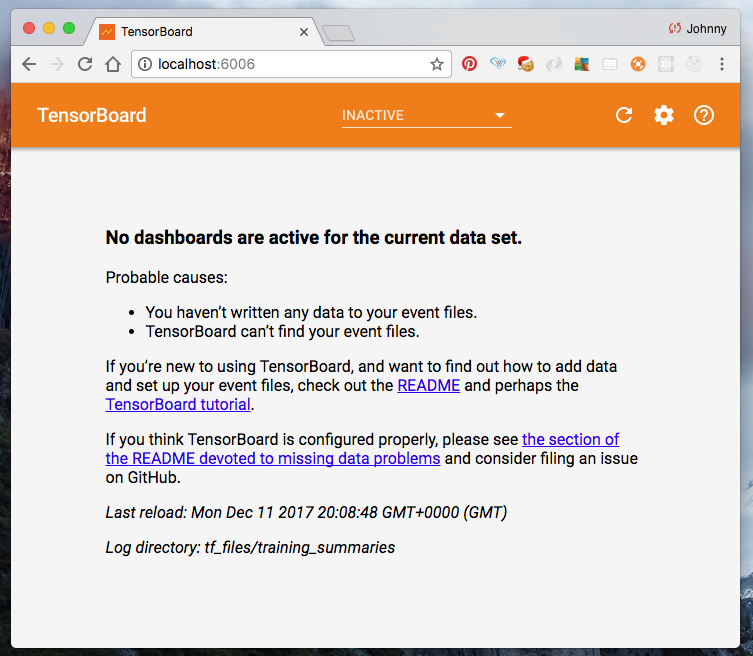
Try and run tensorboard (if it works just keep it running).
(py36-tf14) $ tensorboard --logdir tf_files/training_summaries --host=localhost &
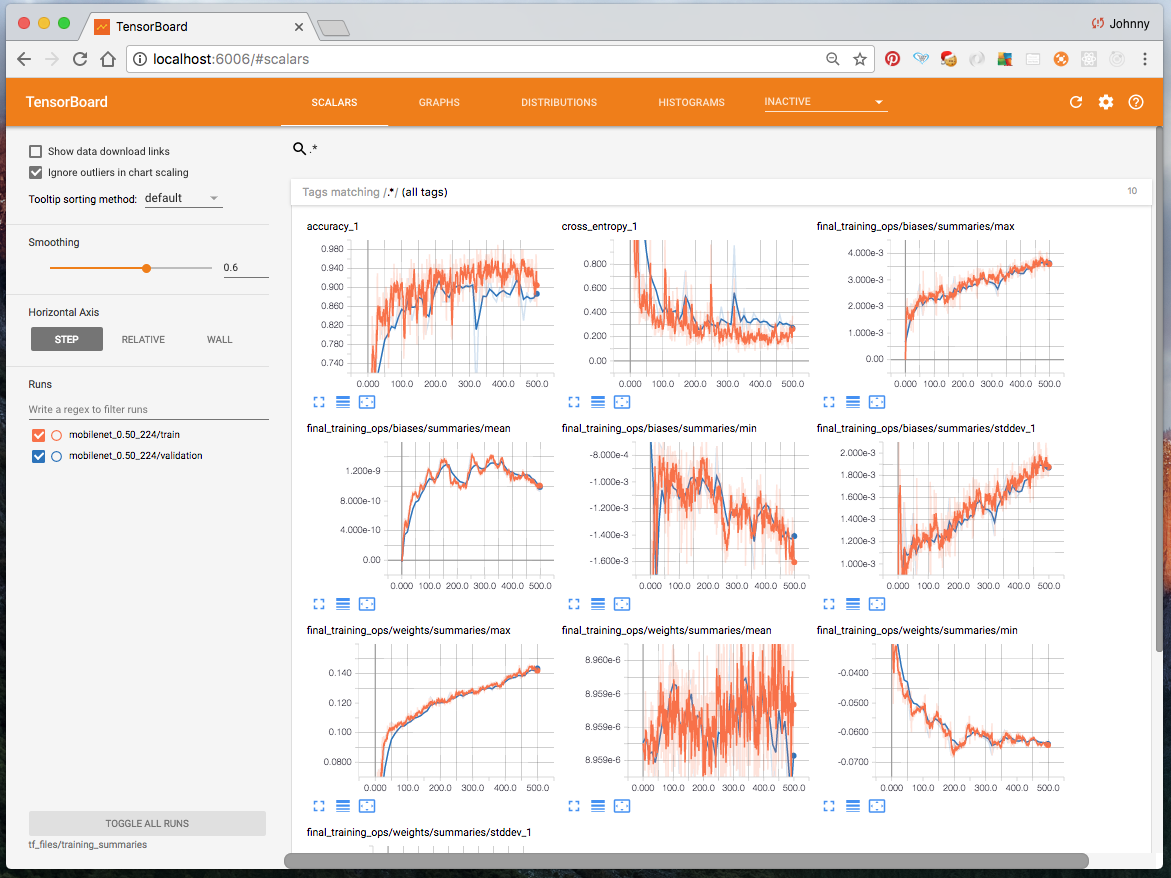
If it works, navigate to http://localhost:6006 and see the TensorBoard frontend:
Note: if we wish to re-run the above tensorboard command, make sure we kill the previously created tensorboard session, like this:
(py36-tf14) $ pkill -f "tensorboard"
Note also: if you still have problem with tensorboard, checkout this GitHub thread (scroll down see wchargin’s comment on 17th Aug 2017). Maybe we just need to upgrade both tensorflow and tensorflow-tensorboard with pip.
(py36-tf14) $ pip install --upgrade tensorflow tensorflow-tensorboard
One more note, as time goes by, the version number of tensorflow is likely to increase. This article will install the latest version. Just to be safe, you might wish to explicitly specify the corresponding version number for tensorflow (likewise Python, etc.). e.g.
(py36-tf14) $ pip install "tensorflow==1.4.1"
Download flower pictures
Make sure we are still at the root directory of the Github repository. i.e. the directory structure should look something like this:
(py36-tf14) $ ls -l
total 40
-rw-r--r--   1 johnny  staff    969 Dec 11 14:08 CONTRIBUTING.md
-rw-r--r--   1 johnny  staff  11357 Dec 11 14:08 LICENSE
-rw-r--r--   1 johnny  staff   1373 Dec 11 14:08 README.md
drwxr-xr-x   4 johnny  staff    136 Dec 11 14:08 android
drwxr-xr-x  10 johnny  staff    340 Dec 11 14:08 scripts
drwxr-xr-x   5 johnny  staff    170 Dec 11 14:34 tf_files
By default there is an empty directory called tf_filies. This is where the training images will be downloaded to.
To download images do this:
(py36-tf14) $ curl http://download.tensorflow.org/example_images/flower_photos.tgz | tar xz -C tf_files
This essentially:
- download the compressed file
flower_photos.tgzfrom the tensorflow website - extract the the file to
/tf_files - in the end we shall see a new directory
/tf_files/flower_photoswhich contains the training images of the flowers.
Let’s take a look at extracted directory:
(py36-tf14) $ cd tf_files/flower_photos/
(py36-tf14) $ ls -l
total 824
-rw-r-----    1 johnny  staff  418049 Feb  9  2016 LICENSE.txt
drwx------  635 johnny  staff   21590 Feb 10  2016 daisy
drwx------  900 johnny  staff   30600 Feb 10  2016 dandelion
drwx------  643 johnny  staff   21862 Feb 10  2016 roses
drwx------  701 johnny  staff   23834 Feb 10  2016 sunflowers
drwx------  801 johnny  staff   27234 Feb 10  2016 tulips
Observations:
- It contains 5 directories.
- Each directory is named by the flower category (e.g. daisy, dandelion, roses, sunflowers, tublips).
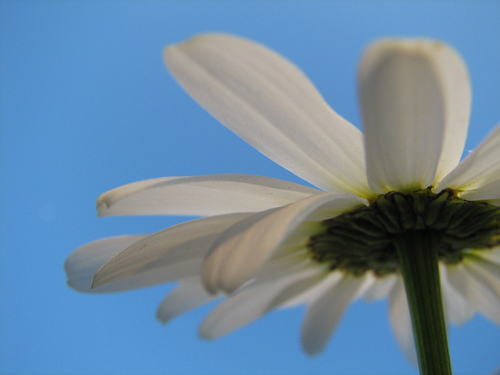
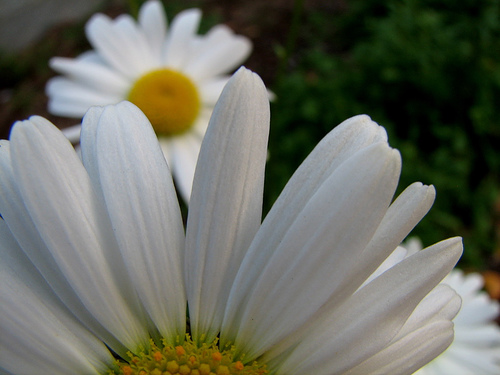
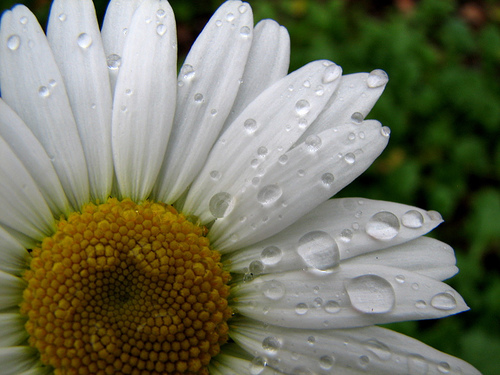
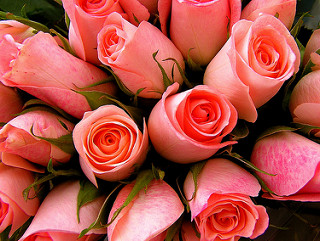
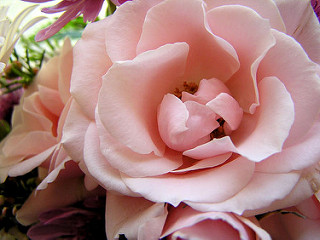
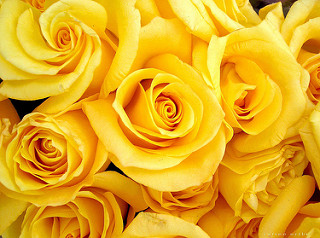
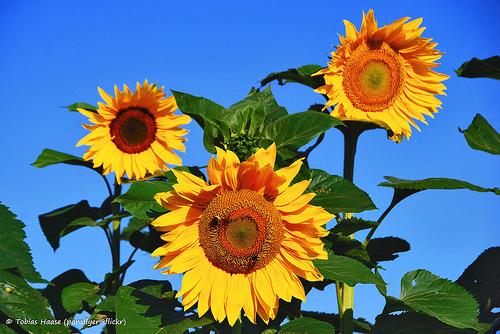
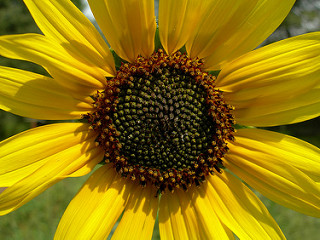
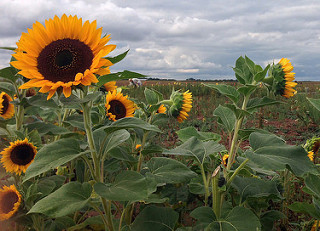
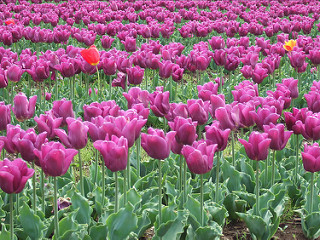
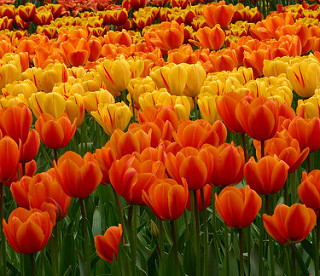
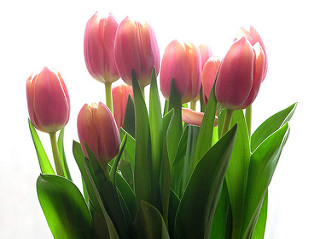
Here is a sample of what the images look like in each category:
daisy:
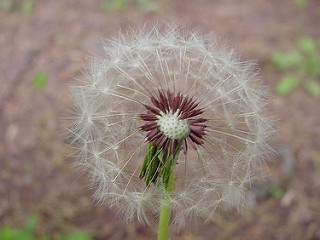
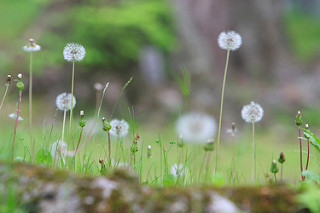
dandelion:
roses:
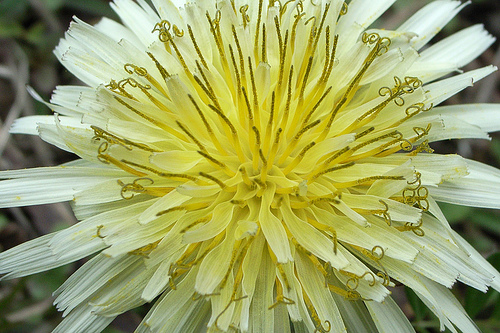
sunflowers:
tulips:
Configure MobileNet
Follow the instruction Configure MobileNet.
We have a choice of Inception V3 model (78% accuracy and 85MB) or MobileNet (70.5% accuracy and 19MB). We go for the lighter weight MobileNet.
Here we get to choose two hyperparameters (stored as environmental variables). Note that I prefix the variables with TFP_ to indicate these are “TensorFlow for Poet related”
-
TFP_IMAGE_SIZE(input image resolution):128,160,192, or224px. The recommended is 224px to start with. Higher resolution image takes more processing time, but results in better classification accuracy. -
TFP_RELATIVE_SIZE(The relative size of the model as a fraction of the largest MobileNet:1.0,0.75,0.50, or0.25. The recommended is0.50to start with. The smaller models run significantly faster, at a cost of accuracy.
Let’s set these as shell environmental variables:
(py36-tf14) $ export TFP_IMAGE_SIZE="224"
(py36-tf14) $ export TFP_RELATIVE_SIZE="0.50"
(py36-tf14) $ export TFP_ARCHITECTURE="mobilenet_${TFP_RELATIVE_SIZE}_${TFP_IMAGE_SIZE}"
Let’s confirm that we’ve set these variables correctly:
(py36-tf14) $ echo ${TFP_IMAGE_SIZE}
224

(py36-tf14) $ echo ${TFP_RELATIVE_SIZE}
0.50

(py36-tf14) $ echo ${TFP_ARCHITECTURE}
mobilenet_0.5_224
Investigate retraining script
We are still at the root of the github repository.
Let’s take a look at the transfer learning (i.e. re-training) script. See the original page for more details.
Note the script appears to support Python 3.5. It “should” be ok for Python 3.6 (which we are on currently). You may get some warning on this when you run python scripts (not critical).
(py36-tf14) $ python -m scripts.retrain -h

usage: retrain.py [-h] [--image_dir IMAGE_DIR] [--output_graph OUTPUT_GRAPH]
                  [--intermediate_output_graphs_dir INTERMEDIATE_OUTPUT_GRAPHS_DIR]
                  [--intermediate_store_frequency INTERMEDIATE_STORE_FREQUENCY]
                  [--output_labels OUTPUT_LABELS]
                  [--summaries_dir SUMMARIES_DIR]
                  [--how_many_training_steps HOW_MANY_TRAINING_STEPS]
                  [--learning_rate LEARNING_RATE]
                  [--testing_percentage TESTING_PERCENTAGE]
                  [--validation_percentage VALIDATION_PERCENTAGE]
                  [--eval_step_interval EVAL_STEP_INTERVAL]
                  [--train_batch_size TRAIN_BATCH_SIZE]
                  [--test_batch_size TEST_BATCH_SIZE]
                  [--validation_batch_size VALIDATION_BATCH_SIZE]
                  [--print_misclassified_test_images] [--model_dir MODEL_DIR]
                  [--bottleneck_dir BOTTLENECK_DIR]
                  [--final_tensor_name FINAL_TENSOR_NAME] [--flip_left_right]
                  [--random_crop RANDOM_CROP] [--random_scale RANDOM_SCALE]
                  [--random_brightness RANDOM_BRIGHTNESS]
                  [--architecture ARCHITECTURE]

optional arguments:
  -h, --help            show this help message and exit
  --image_dir IMAGE_DIR
                        Path to folders of labeled images.
  --output_graph OUTPUT_GRAPH
                        Where to save the trained graph.
  --intermediate_output_graphs_dir INTERMEDIATE_OUTPUT_GRAPHS_DIR
                        Where to save the intermediate graphs.
  --intermediate_store_frequency INTERMEDIATE_STORE_FREQUENCY
                        How many steps to store intermediate graph. If "0"
                        then will not store.
  --output_labels OUTPUT_LABELS
                        Where to save the trained graph's labels.
  --summaries_dir SUMMARIES_DIR
                        Where to save summary logs for TensorBoard.
  --how_many_training_steps HOW_MANY_TRAINING_STEPS
                        How many training steps to run before ending.
  --learning_rate LEARNING_RATE
                        How large a learning rate to use when training.
  --testing_percentage TESTING_PERCENTAGE
                        What percentage of images to use as a test set.
  --validation_percentage VALIDATION_PERCENTAGE
                        What percentage of images to use as a validation set.
  --eval_step_interval EVAL_STEP_INTERVAL
                        How often to evaluate the training results.
  --train_batch_size TRAIN_BATCH_SIZE
                        How many images to train on at a time.
  --test_batch_size TEST_BATCH_SIZE
                        How many images to test on. This test set is only used
                        once, to evaluate the final accuracy of the model
                        after training completes. A value of -1 causes the
                        entire test set to be used, which leads to more stable
                        results across runs.
  --validation_batch_size VALIDATION_BATCH_SIZE
                        How many images to use in an evaluation batch. This
                        validation set is used much more often than the test
                        set, and is an early indicator of how accurate the
                        model is during training. A value of -1 causes the
                        entire validation set to be used, which leads to more
                        stable results across training iterations, but may be
                        slower on large training sets.
  --print_misclassified_test_images
                        Whether to print out a list of all misclassified test
                        images.
  --model_dir MODEL_DIR
                        Path to classify_image_graph_def.pb,
                        imagenet_synset_to_human_label_map.txt, and
                        imagenet_2012_challenge_label_map_proto.pbtxt.
  --bottleneck_dir BOTTLENECK_DIR
                        Path to cache bottleneck layer values as files.
  --final_tensor_name FINAL_TENSOR_NAME
                        The name of the output classification layer in the
                        retrained graph.
  --flip_left_right     Whether to randomly flip half of the training images
                        horizontally.
  --random_crop RANDOM_CROP
                        A percentage determining how much of a margin to
                        randomly crop off the training images.
  --random_scale RANDOM_SCALE
                        A percentage determining how much to randomly scale up
                        the size of the training images by.
  --random_brightness RANDOM_BRIGHTNESS
                        A percentage determining how much to randomly multiply
                        the training image input pixels up or down by.
  --architecture ARCHITECTURE
                        Which model architecture to use. 'inception_v3' is the
                        most accurate, but also the slowest. For faster or
                        smaller models, chose a MobileNet with the form
                        'mobilenet_<parameter size>_<input_size>[_quantized]'.
                        For example, 'mobilenet_1.0_224' will pick a model
                        that is 17 MB in size and takes 224 pixel input
                        images, while 'mobilenet_0.25_128_quantized' will
                        choose a much less accurate, but smaller and faster
                        network that's 920 KB on disk and takes 128x128
                        images. See
                        https://research.googleblog.com/2017/06/mobilenets-
                        open-source-models-for.html for more information on
                        Mobilenet.
If you have read the script, you’d notice that it only accepts images in the JPEG format. i.e. any of these extensions are valid: ['jpg', 'jpeg', 'JPG', 'JPEG']. So beware.
Perform the re-training
Before doing this, export one more environmental variable. i.e. the root directory of the training images.
export TFP_IMAGES_DIR="flower_photos"
Do this in one big command. Tweak the optional parameters as needed.
(py36-tf14) $ python -m scripts.retrain \
  --bottleneck_dir=tf_files/bottlenecks \
  --how_many_training_steps=500 \
  --model_dir=tf_files/models/ \
  --summaries_dir=tf_files/training_summaries/"${TFP_ARCHITECTURE}" \
  --output_graph=tf_files/retrained_graph.pb \
  --output_labels=tf_files/retrained_labels.txt \
  --architecture="${TFP_ARCHITECTURE}" \
  --image_dir=tf_files/${TFP_IMAGES_DIR}
This will take about 5 minutes to run.
Here is a snippet of the last few lines of the console log:
INFO:tensorflow:2017-12-11 21:52:23.925171: Step 480: Train accuracy = 96.0%
INFO:tensorflow:2017-12-11 21:52:23.925308: Step 480: Cross entropy = 0.117489
INFO:tensorflow:2017-12-11 21:52:23.966271: Step 480: Validation accuracy = 87.0% (N=100)
INFO:tensorflow:2017-12-11 21:52:24.376953: Step 490: Train accuracy = 94.0%
INFO:tensorflow:2017-12-11 21:52:24.377087: Step 490: Cross entropy = 0.150749
INFO:tensorflow:2017-12-11 21:52:24.420469: Step 490: Validation accuracy = 88.0% (N=100)
INFO:tensorflow:2017-12-11 21:52:24.789445: Step 499: Train accuracy = 89.0%
INFO:tensorflow:2017-12-11 21:52:24.789592: Step 499: Cross entropy = 0.297373
INFO:tensorflow:2017-12-11 21:52:24.827349: Step 499: Validation accuracy = 90.0% (N=100)
INFO:tensorflow:Final test accuracy = 90.1% (N=362)
INFO:tensorflow:Froze 2 variables.
Converted 2 variables to const ops.
Test accuracy of 90%. This is probably top 5 accuracy. See this article MobileNets: Open-Source Models for Efficient On-Device Vision
Note also we now also have some new outputs at tf_files directory:
(py36-tf14) $ cd tf_files/
(py36-tf14) $ ls -l
total 10728
drwxr-xr-x  7 johnny  staff      238 Dec 11 21:51 bottlenecks
drwxr-x---  9 johnny  staff      306 Dec 11 14:34 flower_photos
drwxr-xr-x  4 johnny  staff      136 Dec 11 21:49 models
-rw-r--r--  1 johnny  staff  5488099 Dec 11 21:52 retrained_graph.pb
-rw-r--r--  1 johnny  staff       40 Dec 11 21:52 retrained_labels.txt
drwxr-xr-x  3 johnny  staff      102 Dec 11 21:49 training_summaries
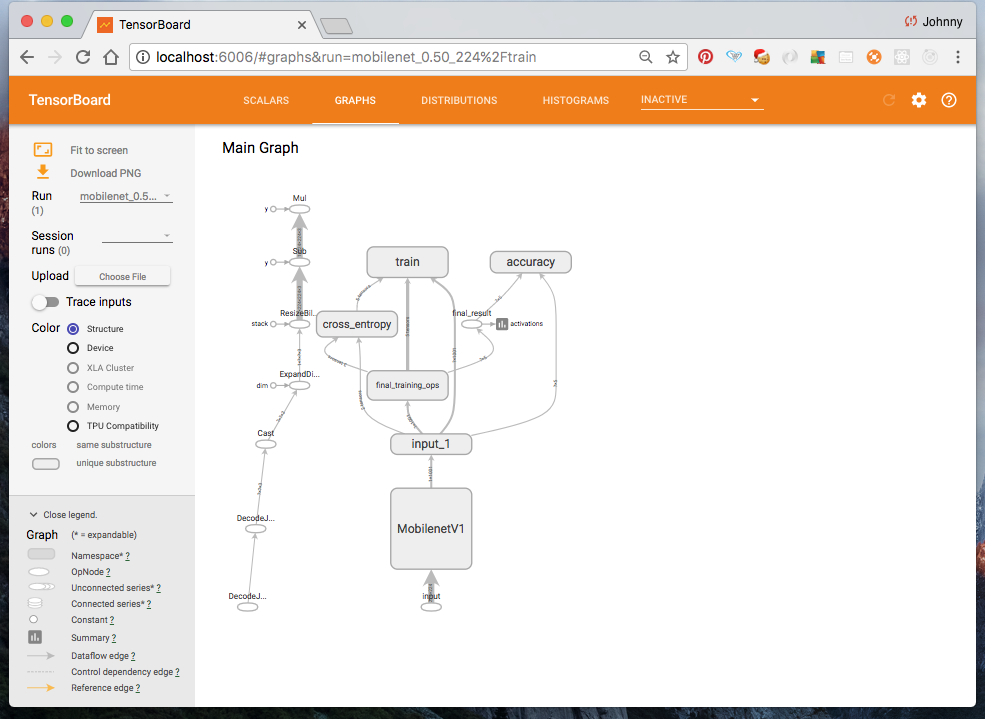
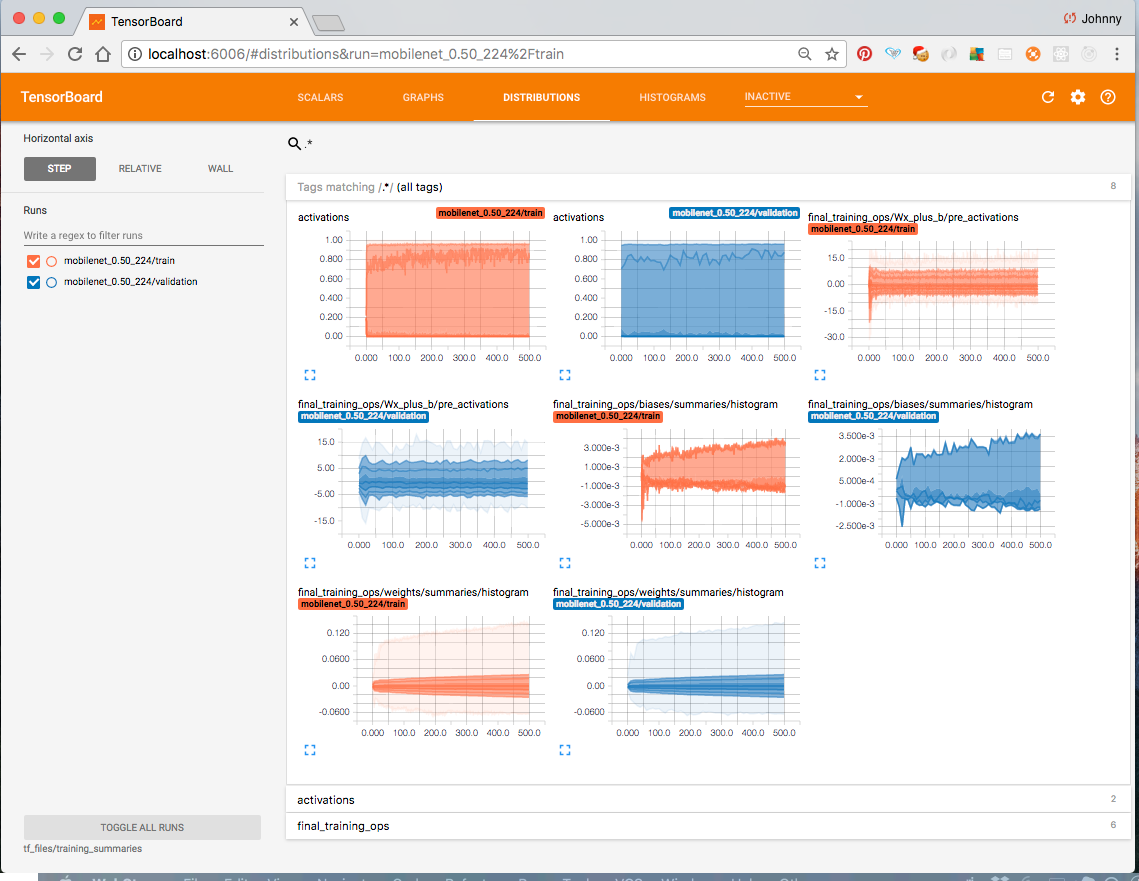
Take a look at Tensorboard at http://localhost:6006/ which now displays the re-training summary.

Now is probably a good time to take a break. Then come back, and try and understanding what is going on, before moving on to the next step. I would suggest to:
- read through the rest of the original instruction on retraining the network
- read the paper Going Deeper with Convolutions. Remarks: it turns out image cropping increases performance marginally? Try work out number of parameters and computations required and ensure result matches the one in paper (for understanding).
- navigate around Tensorboard. What the summary is trying to tell us?
- study the training script
/scripts/retrain.py. What does it do exactly? - take a look at the newly created files at
/tf_files/-
/bottleneckscontain the images in the form of bottlenect values. i.e. each file has 1001 values.
-
Note:
- the cached input values of the final layer is stored at
/tf_files/bottlenecks(these are generated once for reuse in the retraining phase - the retrained model (aka retrained graph) is now stored at
/tf_files/retrained_graph.pb - the retrained lables are stored in a file at
tf_files/retrained_labels.txt
Perform classification inference
The script that does this is /scripts/label_image. The default options should be good enough but let’s take a look at these options anyway:
(py36-tf14) $ python -m  scripts.label_image -h

usage: label_image.py [-h] [--image IMAGE] [--graph GRAPH] [--labels LABELS]
                      [--input_height INPUT_HEIGHT]
                      [--input_width INPUT_WIDTH] [--input_mean INPUT_MEAN]
                      [--input_std INPUT_STD] [--input_layer INPUT_LAYER]
                      [--output_layer OUTPUT_LAYER]

optional arguments:
  -h, --help            show this help message and exit
  --image IMAGE         image to be processed
  --graph GRAPH         graph/model to be executed
  --labels LABELS       name of file containing labels
  --input_height INPUT_HEIGHT
                        input height
  --input_width INPUT_WIDTH
                        input width
  --input_mean INPUT_MEAN
                        input mean
  --input_std INPUT_STD
                        input std
  --input_layer INPUT_LAYER
                        name of input layer
  --output_layer OUTPUT_LAYER
                        name of output layer
To perform inference for a test image do something like this:
python -m scripts.label_image \
    --graph=tf_files/retrained_graph.pb  \
    --image=tf_files/flower_photos/daisy/21652746_cc379e0eea_m.jpg
Output:
(py36-tf14) $ python -m scripts.label_image \
  --graph=tf_files/retrained_graph.pb  \
  --image=tf_files/flower_photos/daisy/21652746_cc379e0eea_m.jpg

Evaluation time (1-image): 0.267s

daisy 0.998764
dandelion 0.00100535
sunflowers 0.000216147
roses 1.42537e-05
tulips 6.22144e-07
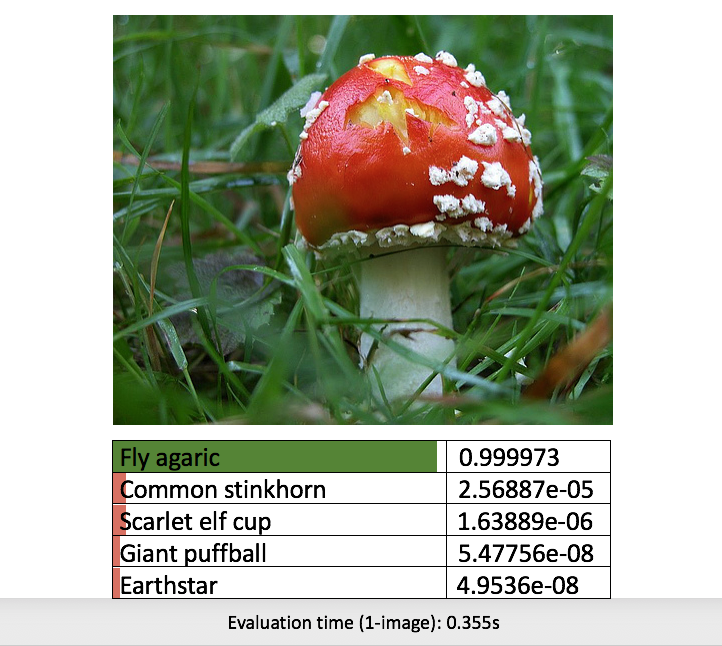
Note it returns the top 5 (softmax) probabilities. Model is ~99% confident the image eis a daisy.
Do the same for rose:
(py36-tf14) $ python -m scripts.label_image \
  --graph=tf_files/retrained_graph.pb  \
  --image=tf_files/flower_photos/roses/2414954629_3708a1a04d.jpg

Evaluation time (1-image): 0.244s

roses 0.954326
tulips 0.0456478
dandelion 1.27241e-05
daisy 1.15512e-05
sunflowers 1.34952e-06
What next
- try other hyperparameters
- train on our own categories (e.g. fungi categories)
- build a frontend for inferences. e.g.
- web app
- mobile app
- video streaming / realtime classification app